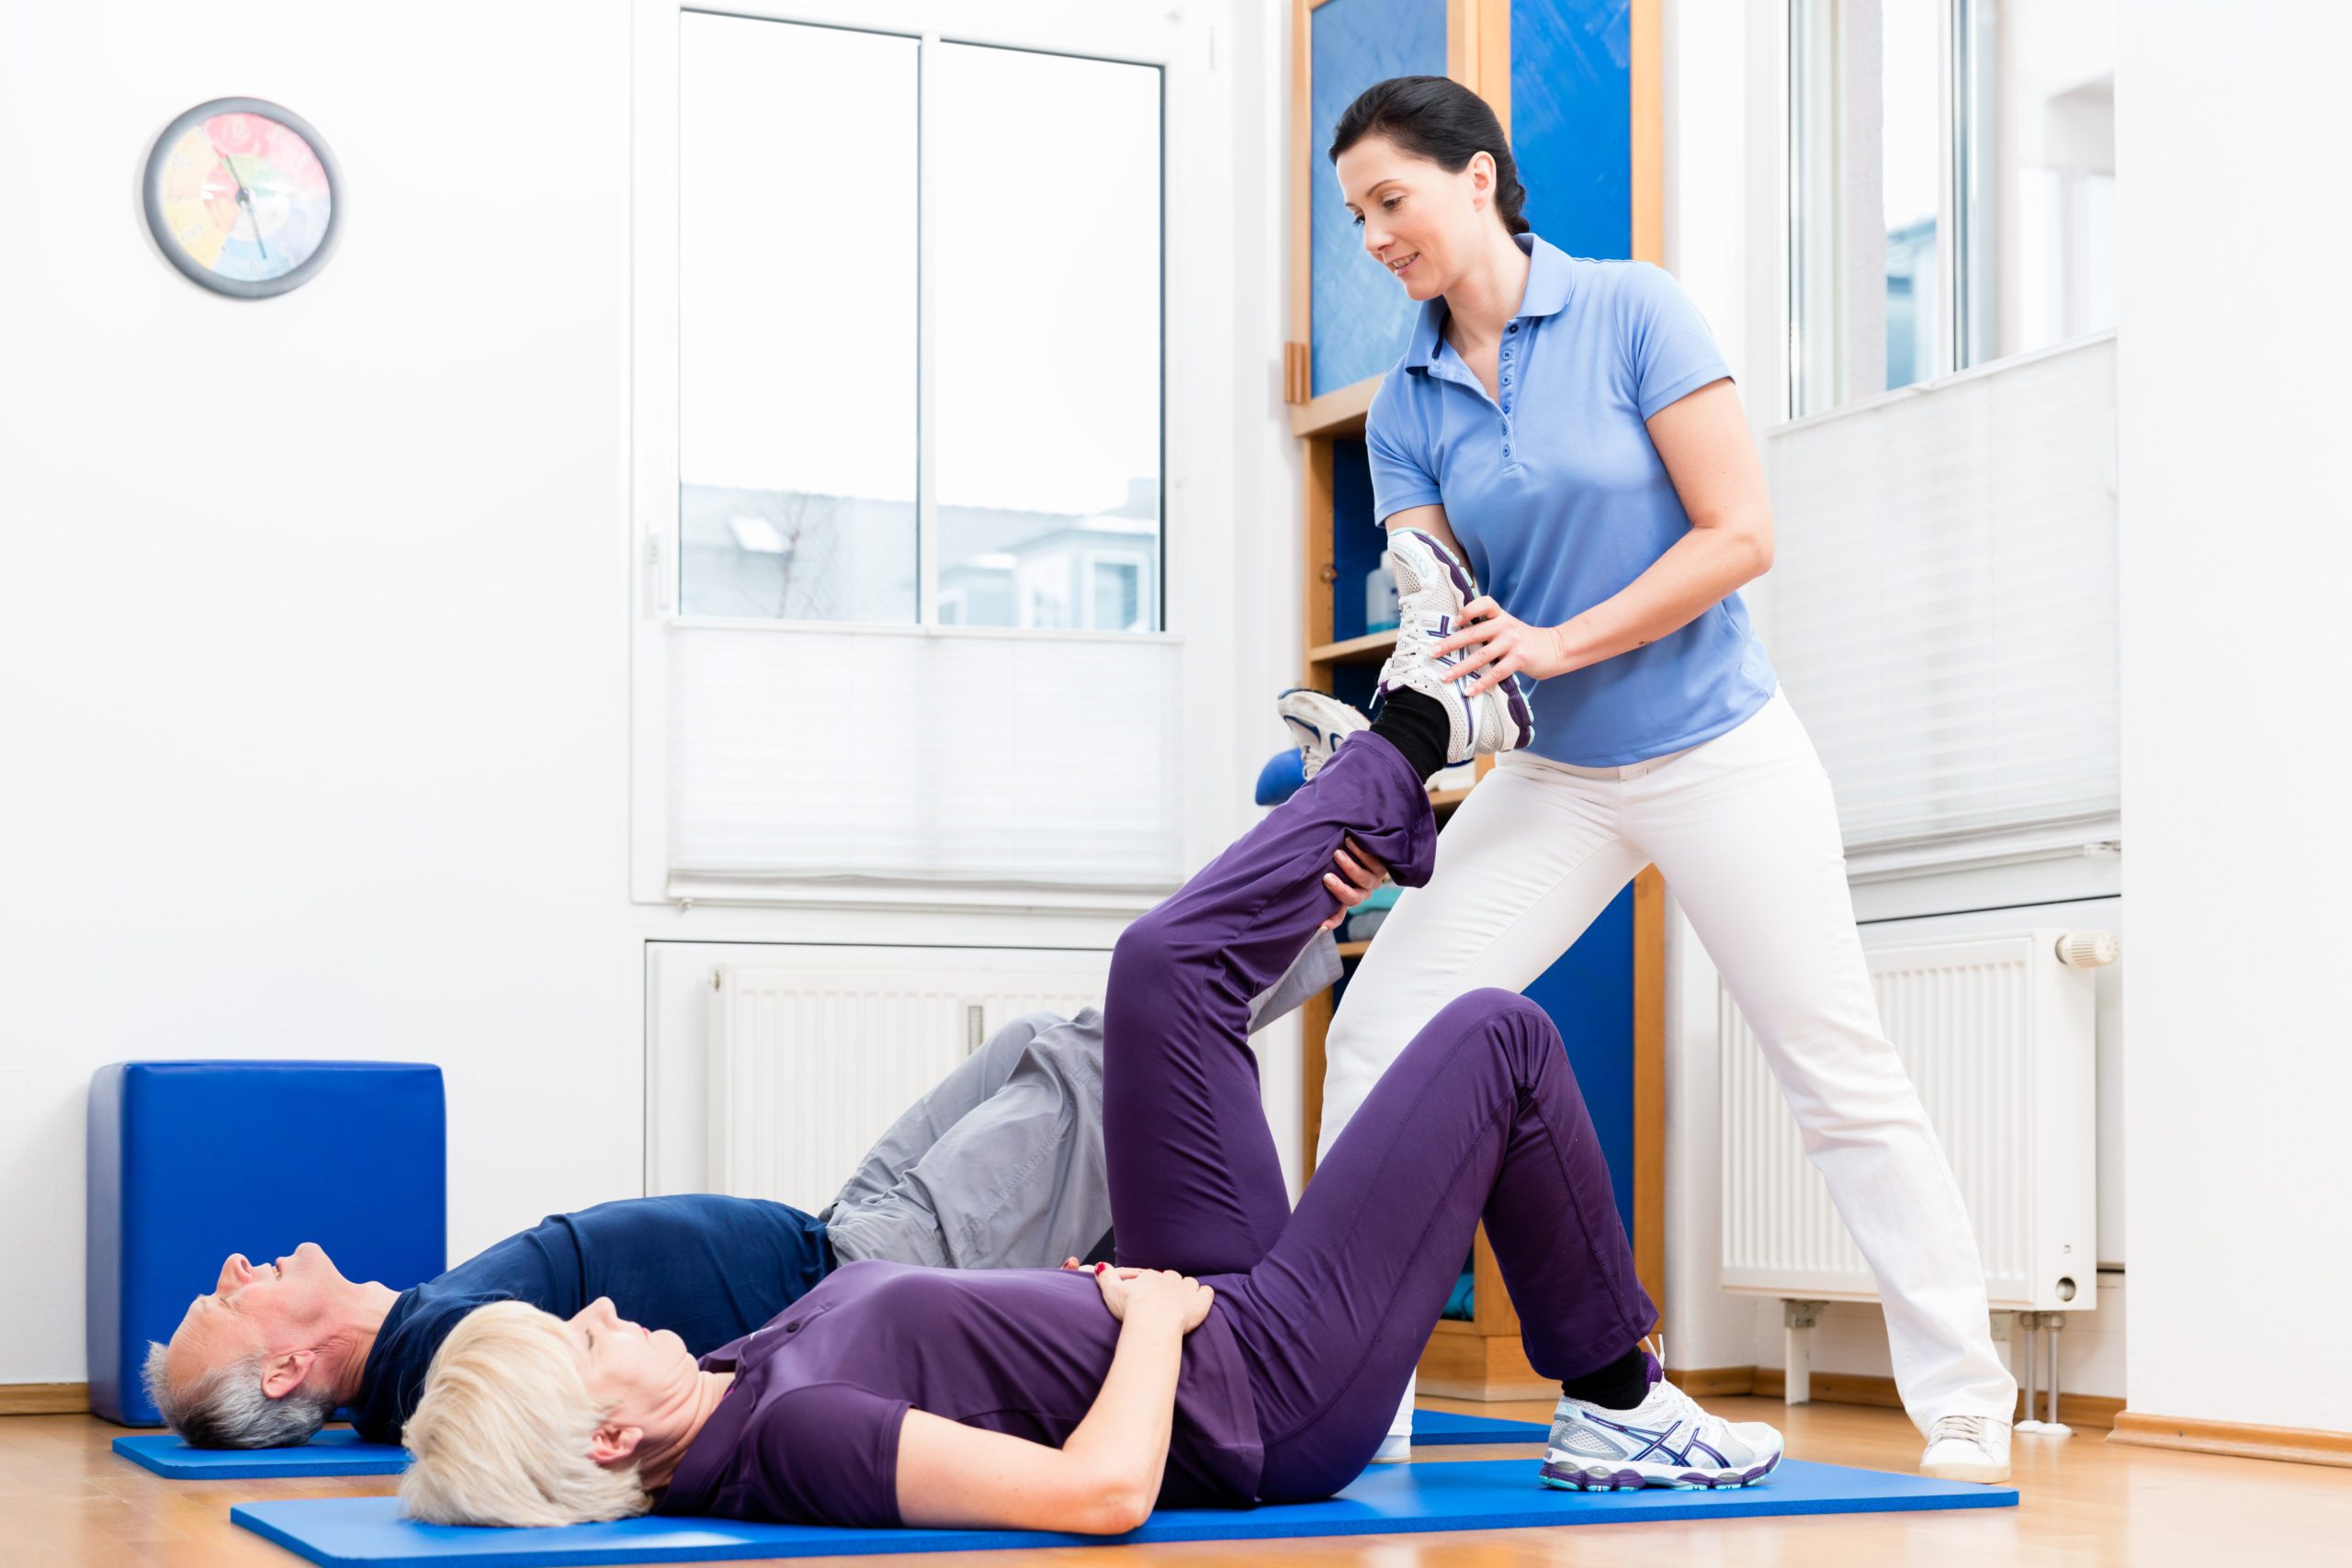
In descriptions of the exercises, the following abbreviations are used: SP – starting position
ADVICE: Isometric position-static exercises for the spine are divided according to their degree of complexity and also according to which part of the spine they are targeting. Always start with the basic course of exercises. These are the main exercises and the simplest movements and positions. In spite of their apparent simplicity, they load the necessary muscles effectively and they are useful for both beginners and for people who are in good and even excellent physical condition. Regular training following the isometric gymnastics system strengthens not only muscles, but also ligaments and tendons. You will notice this effect in several weeks. So after doing the exercises in the basic course for a few weeks, move on to additional and more complicated exercises.
The abdominal muscles are not directly fastened to the vertebrae. They create tension and support that’s necessary in order for the back muscles to keep the spine in an upright position. Remember that these muscles are like ropes that prevent a tower from falling. The abdominal and the long back muscles working together form what are called the lumbar and spine stabilizers. Well-developed abdominal muscles guarantee freedom from lower back pain and they help prevent herniated discs from occurring.
1 Bending in a sitting position, arms up (the former name is “Bending with arms up”)
- SP is sitting on a chair or couch. Sit only on the front half of the couch or chair, so you’re not leaning back resting on anything. Your feet are resting firmly on the floor; your arms are hanging down along the sides of your body.
- The exercise begins with isometric straining of the abdomen: Draw in your abdomen slightly. You have to HOLD THIS TENSION THE ENTIRE TIME YOU ARE DOING THIS EXERCISE.
- Keep your lower back bent slightly forward. This is called lumbar lordosis.
- Breathe freely in and out; do not hold your breath.
- With your abdomen tensed, bend forward slightly forward and hold this position for 3-5 seconds.
- Now, stretch one of your arms upward and forward and hold this position for 3-5 seconds.
- Now, stretch your other arm the same way and hold this position for 3-4 seconds.
- Return to SP and rest for several seconds to one minute.
- After you’ve rested, bend BACKWARDS and repeat the same exercise, then rest.
- Now do the exercise bending LEFT and, after resting, repeat it, bending RIGHT.
This is a long exercise that loads many areas: your thoracic spine, shoulder girdle, and your abdominal and back muscles.
2 Steps in a sitting position
(the former name is “Stepping in a sitting position”)
- SP is sitting. Your legs are resting firmly on the ground. Hands are holding onto the edge of the seat.
- Keep your lower back bent slightly forward and YOUR ABDOMINAL MUSCLES SLIGHTLY STRAINED THROUGHOUT THE ENTIRE EXERCISE.
- Raise one of your knees as if you are taking a step. Keep your knee raised for 3-5 seconds.
- Then make the same “step” with your other leg.
Make 10-12 steps with each leg, alternating legs.
3 Straddling a chair (the former name is “A rider on a chair”)
- SP is sitting on a chair backwards (face toward the chair’s back). Both of your hands are holding onto the back of the chair.
- As in the previous exercises, keep your lower back bent slightly forward and your ABDOMINAL MUSCLES SLIGHTLY STRAINED THROUGHOUT THE ENTIRE EXERCISE.
- Lean toward the chair back and hold this position for 5-10 seconds, then return to SP and relax.
Do this exercise 5-10 times.
4 Separation of the heel from a support, basic variant #1 (the former name is “Heel”)
The essence of this exercise is taking your heel up off the floor. This allows you to keep your spine in correct alignment, no matter what kind of chair you’re sitting on. Your lower body’s mechanical structure is made up of your legs joined to your pelvis joined to your spine. Your spine will automatically straighten when you take your heel off the floor because it’s harder for your body to maintain equilibrium in this position. It’s as if, when you lift your heel, your body says, “Whoops! What just happened!?” and many of your spinal, back and abdominal muscles that were sleeping on the job kick into gear.
- SP is sitting on a chair. KEEP YOUR ABDOMINAL MUSCLES STRAINED THROUGH OUT THE ENTIRE EXERCISE, so suck them in, and move this way:
- Lift one heel off the floor, and then put it back down, then lift your other heel off the floor and put it back down. Continue doing this, one heel at a time, alternating your right heel and your left. Your toes stay on the floor.
- Do this exercise for 1 minute.
Separation of the heel from a support, basic variant #2
- SP is sitting on a chair; hands are palm-down on your knees.
- Separate your heel from the floor and, at the same time, push down on your knee and hip with your hands. This will make lifting your heel more complicated. Strain your abdomen at the same time.
- Do this exercise for 1 minute. Your posture and the muscles in your calves and abdomen are being trained in this exercise.
Advice
You can use the exercise “Separation of the heel from a support” to keep your spine in alignment any place you’re sitting: At work, at your child’s little league game, while traveling, in a restaurant, at the opera, in temple or at church, just about anywhere. To do this, you have to slightly lift the heel of one foot off the floor or ground unnoticeably.
According to the biomechanical principles, your back muscles will straighten your spine themselves. The vertebrae will take their right positions, your back will immediately become straight, your posture will improve, and your back pain will vanish. While you’re holding your heel up, your spine will keep you in perfect alignment. If your leg gets tired, don’t worry! Just put it down and lift your other heel off the floor or the ground while the first one is taking a break. This habit of sitting with one of your heels slightly raised will save your spine!
Advice
These four initial exercises are very simple, but they train the lumbar stabilizers well. They are so simple that they can be done by elderly people and by those who have very recently had spinal surgery.
Exercises for abdominal strengthening in a lying position
5 “Abdominal strengthening, basic variant” (the former name is “Abdomen”)
The abdomen provides the basic stabilizing foundation for the lower back and the entire spinal column. If the abdominal muscles are weak, the balance of pressure in the intervertebral discs pressure is disrupted and back pain and herniated discs are more likely to occur.
- SP is lying on your back; arms are straight down alongside of your body. While doing this exercise, strain your abdomen and hold this tension. Straining your abdomen means that it is necessary to DRAW IN YOUR ABDOMEN slightly with tension. DO NOT STOP BREATHING WHILE DOING THIS EXERCISE. You can hold your breath for 5-10 seconds when strengthening abdominal tension, but then you have to resume breathing. The total time for the exercise is about 1 minute. After that, let your abdominal muscles rest for 1 to 2 minutes. Repeat this exercise 1-3 times.
- “Abdominal strengthening, complicated variant” To make this exercise more complicated and effective, push against your anterior abdominal wall with your hands. This will increase the load on the abdominal muscles.
Advice
It is also an excellent idea to tense your pelvic floor muscles, urinary bladder and anal sphincters while doing exercises that train your abdominal muscles. These muscles are part of the pelvic floor and affect intra-abdominal pressure too. However, DO NOT DO EXERCISES FOR ABDOMINAL MUSCLES RIGHT AFTER EATING.
You can strengthen abdominal muscles not only while lying on your back, but also while sitting on a chair while at work. These exercises are very effective in developing stomach and abdominal muscles and they will help you get rid of low back pain.
6 Lying on your back: arms and abdomen” (The former name is “Rowing with arms”)
- SP is lying on your back.
- Bend your legs at the knees in right angles and stretch your arms upward.
- Hold your abdomen STRAINED, that is DRAW IN YOUR ABDOMINAL WALL
- Move your arms slowly: one arm is lowering toward your legs, the other one is lowering toward your head; so your arms are moving in the opposite directions or “scissoring.”
- Do this exercise for 30-60 seconds.
- Rest and then repeat 1-3 times.
7 Lying on your back: legs and abdomen (the former name is “Rowing with legs”)
- SP is lying on your back.
- Bend your legs at the knees in right angles and stretch your arms upward.
- Hold your abdomen STRAINED, that is DRAW IN YOUR ABDOMINAL WALL
- Move your legs slowly in opposite directions, keeping your knees bent in right angles.
- Your arms remain stretched upwards motionlessly.
- Do this exercise for 30-60 seconds.
- Rest and then repeat it 1-3 times.
8 Lying on your back: arms, legs and abdomen
(the former name is “Stapler” or “Rowing with arms and legs”)
In this exercise, the two previous exercises are combined.
- SP is lying on your back.
- Bend your legs at the knees in right angles and stretch your arms upward.
- Hold your abdomen STRAINED, that is DRAW IN YOUR ABDOMINAL WALL
- Move your legs and arms slowly in opposite directions keeping your knees bent in right angles. The opposite arms and legs are meeting: you’ll touch your left knee with your right hand and vice versa.
- Do this exercise for 30-60 seconds.
- Rest and then repeat it 1-3 times.
Exercises for long and short back muscles strengthening
9 Lying on your stomach: arms(the former name is “Fish-arms”)
- SP is lying on your stomach with your arms stretched forward. To feel more comfortable, place a small rolled towel under your pelvis and stomach. You can also put a towel folded in several layers under your forehead. This is especially important for those who have pain and limited movement in their cervical spine.
- Raise one straightened arm and hold it in a raised position for 30-60 seconds.
- Repeat for the other arm.
- Repeat the exercise 1-3 times.
10 Lying on your stomach: legs (the former name is “Fish-legs”)
- SP is lying on your stomach with your arms stretched forward.
- Raise one straightened leg and hold it in a raised position for 30-60 seconds.
- Repeat for your other leg.
- Repeat the exercise 1-3 times.
11 Lying on your stomach: arms and legs (the former name is “Fish-arms-legs”)
- SP is lying on your stomach with your arms stretched forward.
- Raise one straightened leg and the opposite straightened arm (for example, the left leg and the right hand) simultaneously.
- Hold this position for 30-60 seconds.
- Repeat the exercise for the opposite arm and leg.
- Repeat the exercise 1-3 times.
12 “Walking on toes” (the former name is the same)
Walking on your toes and holding YOUR ABDOMEN STRAINED AT THE SAME TIME is extremely beneficial for your spine. While doing this, your back is straightening, your spine is memorizing its correct position and your abdominal and back muscles, and the muscles in your lower legs are being trained.
Read more about Exercises for lumbar spine Here.


Leave a Reply
You must be logged in to post a comment.